
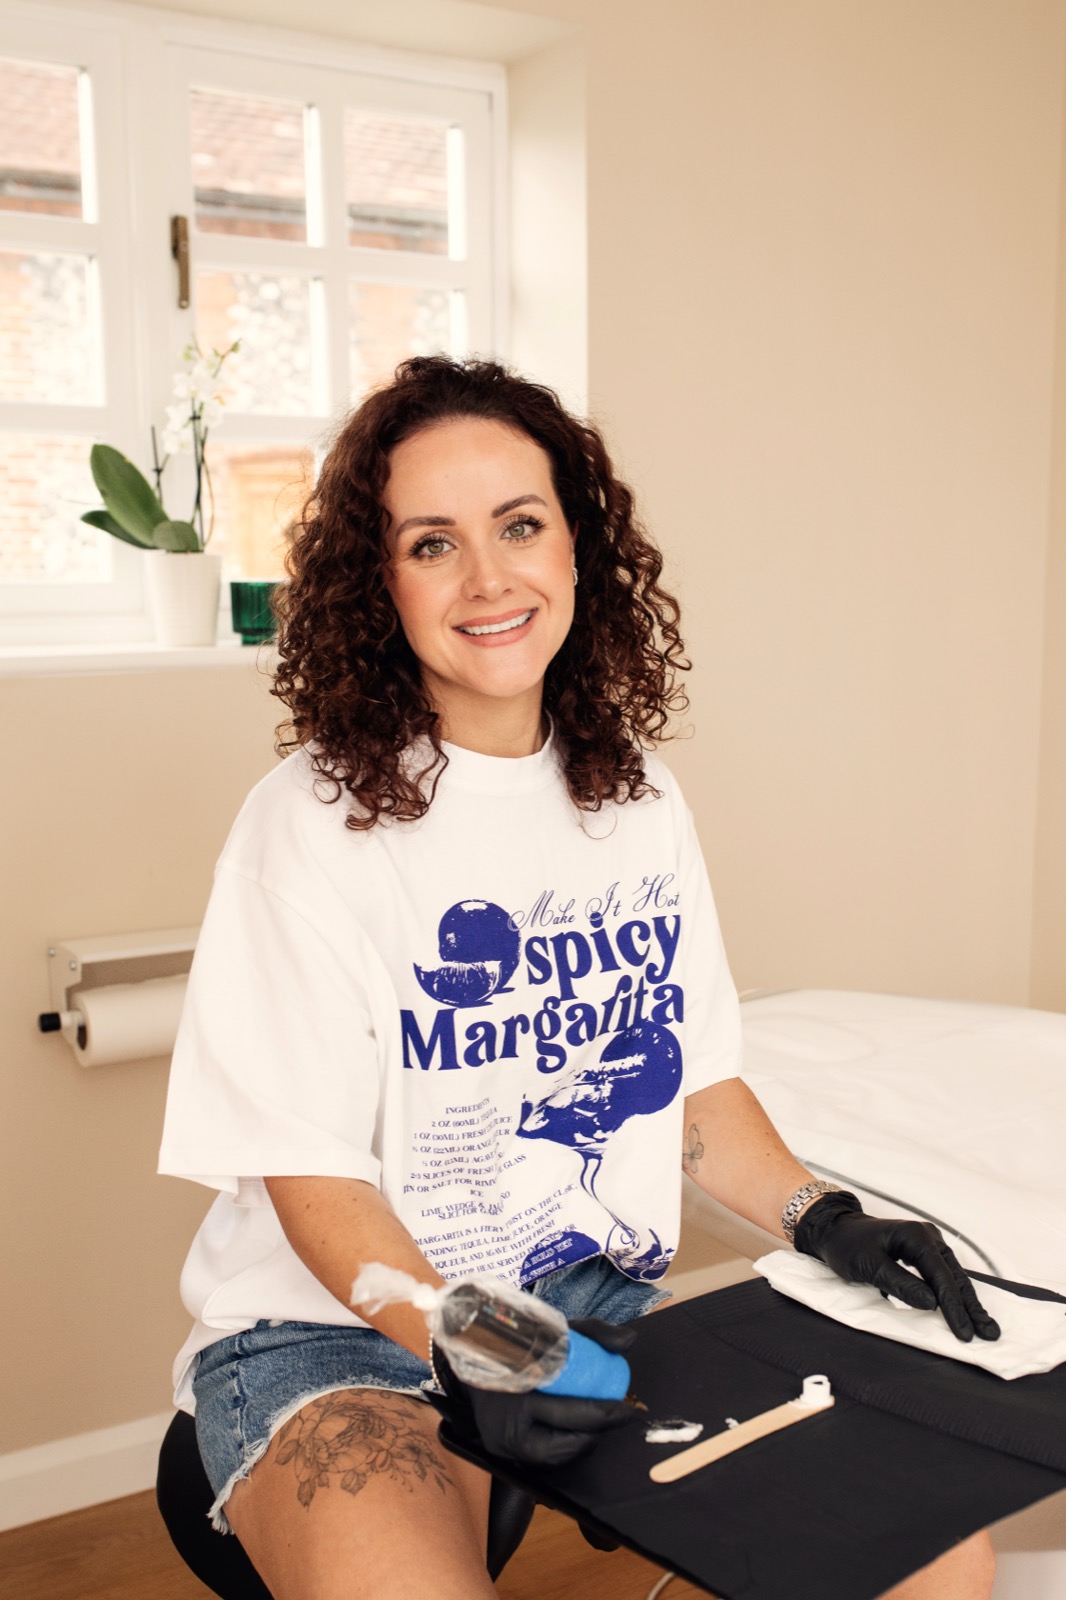
Here's the whole process, from design to a stencil that stays put.
What you need
- A designDrawn by hand or, the way I teach, made in Procreate on an iPad.
- Thermal stencil paperThe kit on my Beginners Training includes Elite thermal stencil paper.
- A way to transfer the design to the paperA thermal stencil printer, or a hand-tracing method.
- Stencil application solutionMy kit includes Stencil Stuff.
- Practice skinsTo test on before you go near a client.
Step 1: Design it at the right size
Fine line work is delicate, so size matters more than people expect. Lines that sit too close together on screen can merge as the tattoo heals. Design at the real size it'll be on the body.
Step 2: Turn it into clean linework
A stencil only needs outlines. Strip out shading and colour so you're left with single, clear lines. In Procreate that usually means working on a separate layer and tracing just the lines you'll tattoo.
Step 3: Print or trace onto thermal paper
- With a thermal printerPrint the linework straight onto the thermal paper. It's quick and the lines come out crisp and consistent, which is why most studios use one.
- By handTrace the design onto the thermal paper's top sheet with a ballpoint pen, pressing firmly so it transfers to the carbon layer underneath.
Check whether the design needs to be mirrored for your method, so lettering and anything facing a direction reads the right way round on skin.
Step 4: Prep the skin
Clean the area, shave it if needed and let it dry. Then apply a thin layer of stencil solution. Too much and the stencil slides; too little and it won't take.
Step 5: Place and peel
Lay the stencil on, press it evenly without dragging, then peel it off in one smooth movement. Check the placement with your client standing naturally, not just sitting in the chair, because skin moves. If it's not right, wipe it off and go again. Re-doing a stencil takes a minute. Re-doing a tattoo doesn't happen.
Step 6: Let it set
Give the stencil time to dry before you start, so it doesn't wipe away halfway through your linework.
Practise before your first client
Stencilling is a skill on its own. On my training you practise applying stencils on practice skins before you work on live models. If you already work in PMU, my online course covers designing and printing stencils in Procreate too.
Quick answers
- How do I create my own tattoo stencil?
- Design the linework, transfer it to thermal stencil paper with a printer or by tracing, then apply it to clean skin with stencil solution.
- What is the best app to make tattoo stencils?
- I teach Procreate on an iPad. Other apps exist; pick one you'll actually use every day.
- What can I use instead of a tattoo stencil?
- Some artists freehand with a skin marker, but for fine line, where every line shows, a stencil is the safer route.
- Why does my stencil smudge?
- Usually too much solution, or not letting it set before you start.